5 Weighted Vest Progressions That Do Not Wreck Your Shoulders
Quick Answer: Start at 5 to 10 percent of body weight for walking, progress duration before load, and only add weight once you can do 45 minutes comfortably at your current load. Shoulder and neck complaints almost always come from a vest that rides high or sits loose, not from the weight itself. Each step below has a fit check attached because fit is the limiting factor at every stage.
Weighted vests are simple until they are not. This is the order that works, and the checks that keep it from going wrong.
Progression 1: Flat walking at 5 to 10 percent body weight
Start lower than you think. For a 150-pound person, that is 8 to 15 pounds, and 10 pounds is a fine starting point regardless of your fitness level, because what you are conditioning first is your spine, shoulders, and connective tissue rather than your cardiovascular system.
Walk 20 to 30 minutes on flat ground, twice a week, for two weeks. You are looking for zero next-day neck or trap soreness, which is the signal that the fit and the load are both appropriate.
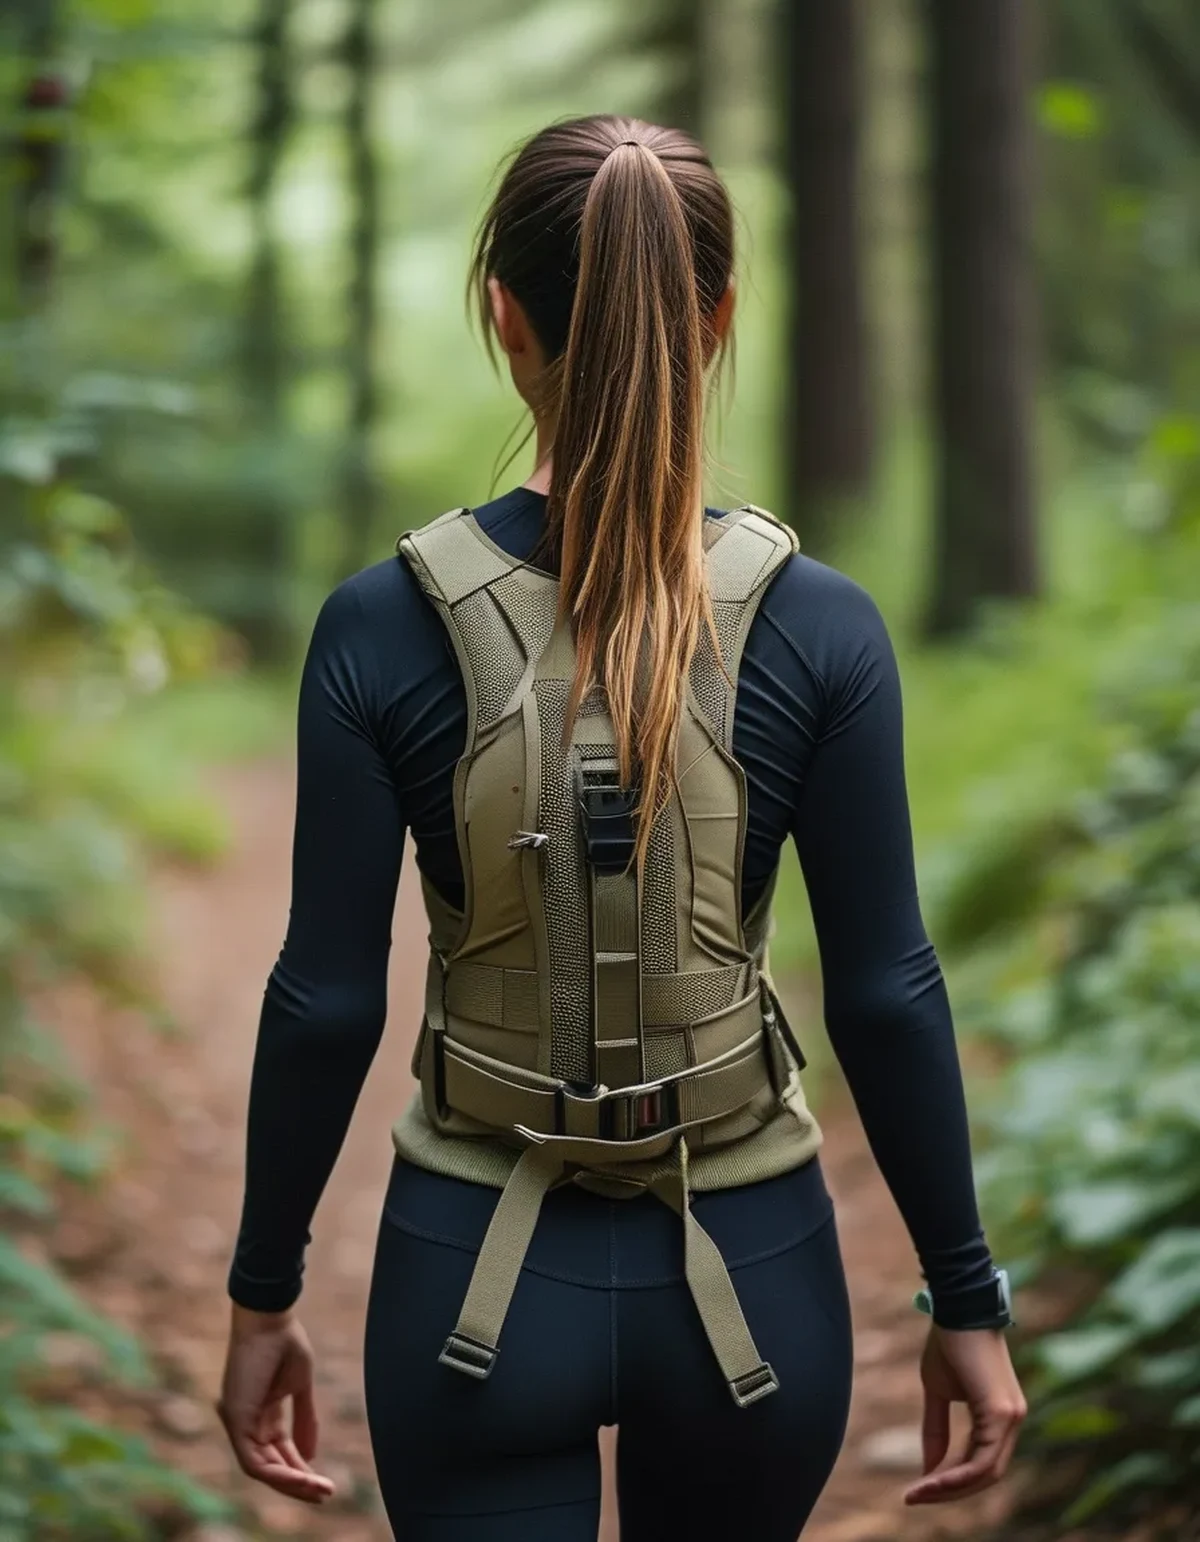
Fit check: the vest should sit with its weight centered at your mid-torso, not up on your shoulders. If you feel it primarily at the tops of your shoulders, the vest is riding too high or the straps are too loose. Tighten the side straps first, then the shoulder straps. A vest should not move independently of your torso when you walk — grab it and shake; if it shifts an inch, it is loose.
Progression 2: Extend duration to 45 to 60 minutes
Before adding a single pound, extend time at your starting load. This is the step most people skip, and skipping it is why shoulder complaints show up in week three.
Build by roughly 10 minutes per week. A 30-minute walk becomes 40, then 50, then 60. Keep the same weight throughout.
Duration exposes fit problems that short walks hide. A vest that feels fine for 20 minutes may create a hot spot at 50, and you want to discover that at 10 pounds rather than at 30.
Fit check: after a long walk, look for red marks. Symmetrical light pressure marks that fade within 20 minutes are normal. Marks at the base of your neck, marks that persist, or asymmetrical marks all mean the load distribution is wrong. Padded shoulder sections and a proper waist belt that transfers load to your hips solve most of this.
Progression 3: Add load in small increments
Once 60 minutes flat is comfortable, add weight — but in 2.5 to 5 pound steps, not by jumping to the next round number.
After each increase, drop your duration back by about 25 percent and rebuild. A 60-minute walk at 10 pounds becomes a 45-minute walk at 15, built back to 60 over two or three weeks.
A reasonable ceiling for general fitness walking is around 20 percent of body weight. Beyond that, gait changes measurably — stride shortens, trunk lean increases, and the loading pattern on your spine changes in ways that make the exercise a different thing than it was.
Fit check: at heavier loads, plate-style vests with individual weight pockets distribute far better than sand-filled or single-mass vests. If your vest has a single weight compartment, that is your limiting factor above about 20 pounds, not your body.

Progression 4: Introduce hills
Hills change everything, and they should come after you are solid at 45 to 60 minutes on flat ground with your target load.
Uphill with a vest is straightforward and is where most of the cardiovascular benefit lives. Downhill is where the risk is — the eccentric load on your quads and knees is substantially increased by added weight, and this is the most common source of weighted vest knee complaints.
Start with uphill only if you can, using a treadmill incline or an out-and-back where you can remove the vest for the descent. On real trails, shorten your stride and slow down noticeably on descents rather than trying to maintain pace.
Fit check: on hills, vest movement becomes obvious. If the vest bounces on descent, the waist strap is not tight enough. Bouncing load produces impact forces far higher than the static weight and is what turns a manageable vest into a shoulder problem.
Progression 5: Add it to specific training, carefully
Once walking is fully established, a vest can be added to step-ups, carries, and bodyweight strength work.
What it should generally not be added to: running, jumping, and any high-repetition impact work. Running with a vest multiplies ground reaction forces at every step, and the injury risk rises faster than the training benefit. There are athletes who do it under supervision; it is a poor default for general fitness.
Stair climbing with a vest is the highest-value addition for most people — high cardiovascular demand, low impact, and it uses the load exactly the way the vest is designed to be used.
Fit check: for any dynamic work, the vest must be locked down at both the waist and the sides. Test by doing five step-ups before you commit to a set. If you feel the load lag behind your torso at the top of each step, tighten before you continue, not after.
FAQ: Weighted Vest Questions, Answered
How much weight should I start with?
5 to 10 percent of body weight for walking. Fitness level matters much less than tissue adaptation, and everyone’s connective tissue adapts on roughly the same timeline.
Does a weighted vest help bone density?
Loaded weight-bearing exercise is one of the better-supported interventions for bone health, and vests have been studied in that context with encouraging results. This is general information, not medical advice — anyone with existing bone density concerns should get individual guidance before adding load.
Why do my traps hurt after wearing one?
Almost always fit. The vest is riding high, the shoulder straps are carrying load that should be on your torso and hips, or the vest is loose enough to shift with each step. Fix the fit before reducing the weight.
TL;DR:
- Start at 5 to 10 percent of body weight and build duration before load.
- Add weight in 2.5 to 5 pound steps and drop duration each time you do.
- Hills after flat, uphill before downhill, and slow the descents.
- Shoulder pain is a fit problem in nearly every case — center the load on your torso and hips.
A weighted vest is one of the few pieces of equipment that improves a walk you were already taking. Progress it like a training load rather than an accessory and it will keep paying off for years.
Keep Reading
This article is for general informational purposes only and is not medical advice. Always consult a qualified health professional for guidance specific to you.