5 Weighted Vest Checks Nobody Does Until Something Fails
Quick Answer: Weighted vests fail at the stitching, the buckles and the weight pockets, and all three give warning if you look. Sweat salt degrades webbing and corrodes hardware, hanging a loaded vest by one strap stretches it permanently, and shifting weights change the load distribution without you noticing. Five checks, two minutes, once a month.
Five things to look at before the vest tells you the hard way.
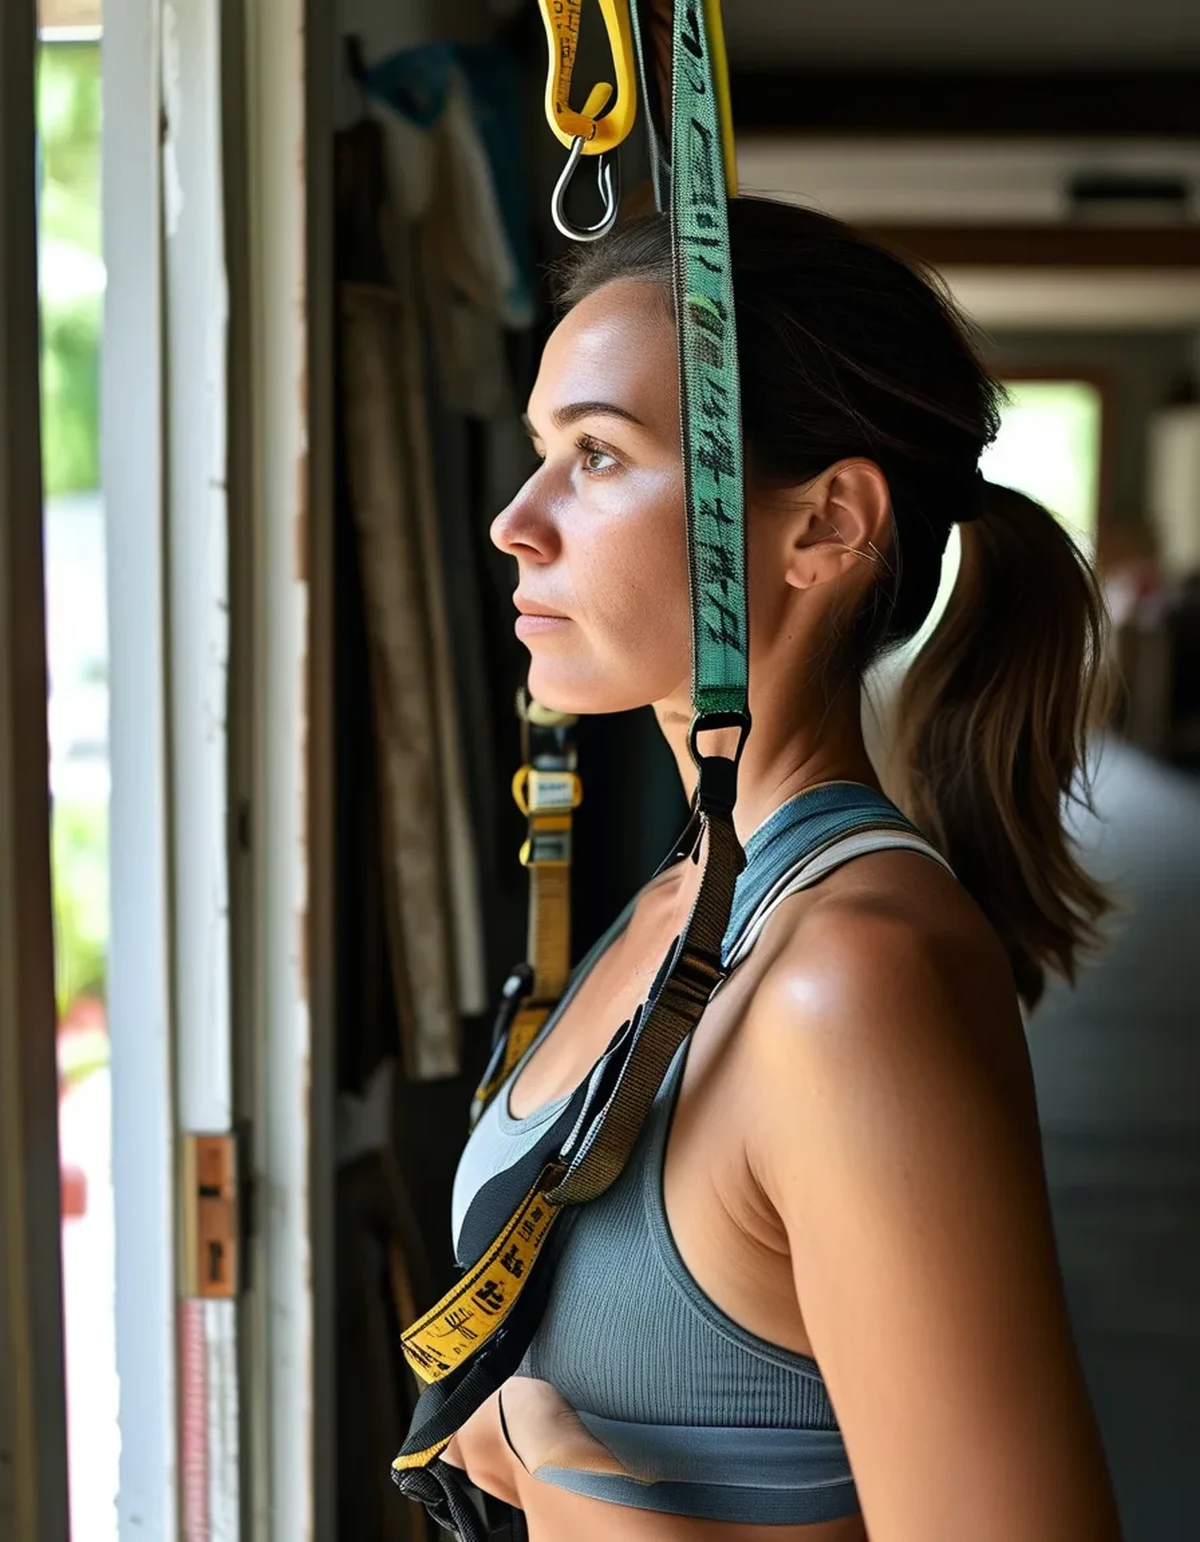
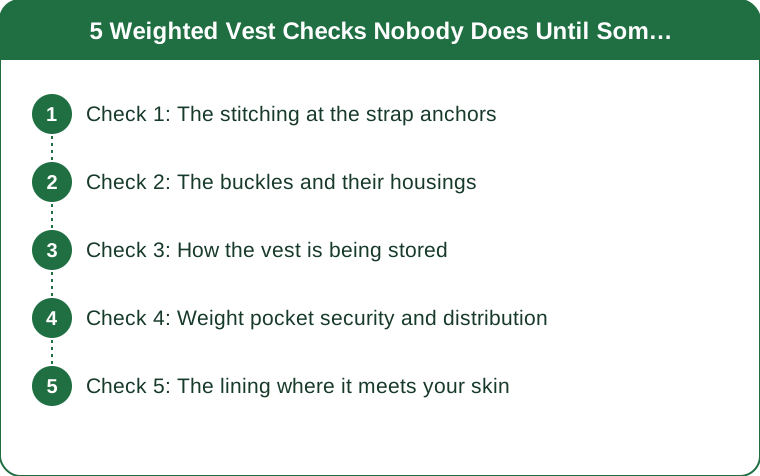
Check 1: The stitching at the strap anchors
Every load path in the vest ends at a line of stitching. Shoulder anchors and side attachment points carry the full weight, repeatedly, under movement.
Look for thread that has gone fuzzy or pale compared to the surrounding stitching. That is abrasion, and it precedes failure by weeks.
Check both sides. Wear is rarely symmetrical, because most people load and unload the vest the same way every time and put it on over the same shoulder.
Pull firmly on each anchor with the vest loaded. Any give, popping sound or visible thread movement means stop using it until it is repaired.
Bar-tacked anchors are the strong ones. A simple straight stitch at a load point is a design weakness, and worth knowing about before you buy.
And repair is usually viable. A shoe repairer or a canvas and upholstery shop can re-stitch an anchor for very little, and it is far cheaper than replacing the vest.
Check 2: The buckles and their housings
Plastic side-release buckles are the most common failure point. They fatigue over hundreds of cycles and they degrade in UV.
Look at the prongs inside the female housing for stress whitening — a pale line in the plastic where it flexes. That is the crack forming.
Sweat salt corrodes metal hardware. Steel ladder locks and D-rings pit and stiffen, then start abrading the webbing that runs through them.
Test each buckle under load, not empty. A buckle that clicks reassuringly with no weight in the vest can release under twenty kilos of dynamic load.
Replacement buckles are cheap and standardised. Measure the webbing width and order a matching size; this is a five-minute repair with no sewing on most designs.
And a buckle that has ever released unexpectedly should be replaced, not monitored. It has already told you what it is going to do.
Check 3: How the vest is being stored
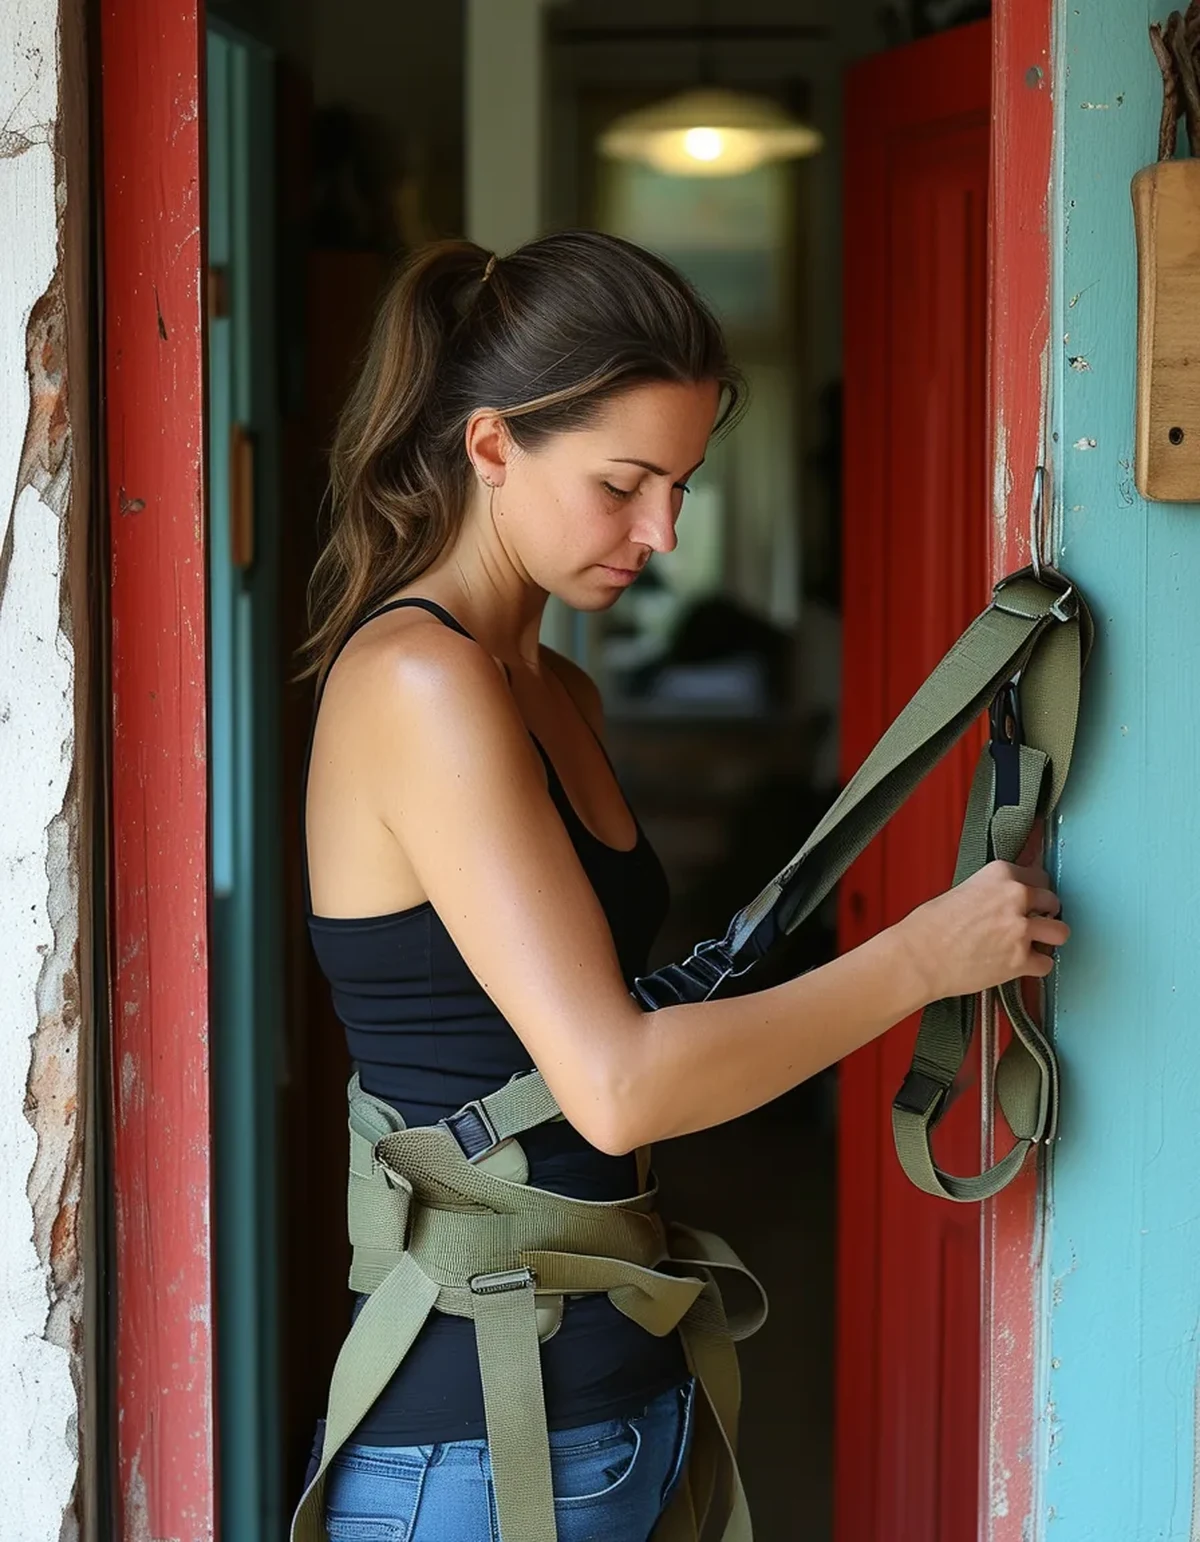
Hanging a loaded vest by one shoulder strap is the quiet killer. The full weight sits on one anchor and one section of webbing, twenty-four hours a day, for months.
Webbing creeps under sustained load. It stretches slowly and does not fully recover, so that strap ends up longer than its partner and the vest sits crooked.
Store it unloaded, or store it flat. Removing the weights takes a minute and eliminates the problem entirely. If it stays loaded, lay it flat on a shelf.
Damp storage is the other half of it. A vest hung in a hallway after a sweaty walk stays damp in the padding for hours, which corrodes hardware and grows mildew in the lining.
Hang it to dry, then store it. Two different actions in two different places, and most people only do the first.
And keep it out of direct sunlight. UV degrades both nylon webbing and plastic buckles, and a vest that lives on a sunny porch hook ages considerably faster than one in a cupboard.
Check 4: Weight pocket security and distribution
Weights migrate. Small bars and shot bags settle downward and outward in their pockets across a session, which changes the load distribution without any sign that it has happened.
Check that every pocket is closed and every closure still grips. Hook-and-loop closures clog with lint and lose holding power gradually, which is the most common way a weight escapes.
Count the weights. Losing one from an outer pocket during a walk is common enough, and an asymmetric vest loads one side of your spine and hips for the entire session.
Balance front and back deliberately. Most vests are designed to be roughly even; loading the front heavier pulls you into extension and changes your gait.
Keep the load high and close. Weight sitting low in the vest swings more and produces the shoulder ache people usually blame on the straps.
And clean the hook-and-loop. A stiff brush across the hook side removes accumulated lint and restores a surprising amount of grip.
Check 5: The lining where it meets your skin
Chafe develops where the lining wears through. Once the soft face is gone, the underlying webbing or mesh is abrasive, and it will find your collarbone or ribs.
Look at the shoulder pads and the underarm edges. Those are the two highest-friction zones and the ones people notice last.
Salt buildup stiffens fabric. Dried sweat leaves crystals that make soft lining rough, which is why a vest that was comfortable in spring is chafing by the end of summer.
Wash it properly. Most vests can be hand washed unloaded in cool water with a little detergent, then dried flat away from heat. Check the manufacturer’s guidance first.
Never machine wash a loaded vest, and be cautious even unloaded — spin cycles destroy padding and buckles.
And add a layer rather than tolerating a rough spot. A technical top under the vest solves most emerging chafe while you decide whether to repair or replace.
This is general information, not medical advice. Persistent shoulder or back pain from vest use is worth having assessed rather than adjusting around.
TL;DR:
- Vests fail at stitching, buckles and weight pockets, and all three warn you first if you look.
- Hanging a loaded vest by one strap stretches the webbing permanently and makes it sit crooked.
- Sweat salt corrodes hardware and stiffens lining, which is why comfort degrades across a season.
- Count the weights and check the closures; an asymmetric vest loads your spine unevenly for the whole session.
Two minutes a month, and the vest tells you what it needs long before a buckle does it for you.
Keep Reading
This article is for general informational purposes only and is not medical advice. Always consult a qualified health professional for guidance specific to you.