5 Weighted Vest Fit Checks to Do Before You Leave the House
Quick Answer: A vest that shifts, rides up, or sits unevenly turns a walk into an hour of compensation, and you feel it in your shoulders and lower back rather than where the weight is. Five checks at the door - load position, side tension, shoulder clearance, breathing room, and movement test - catch nearly all of it. Under two minutes. Every one of these problems is unfixable once you are out.
The vest felt fine in the hallway.
It always does, because you were standing still for eleven seconds.
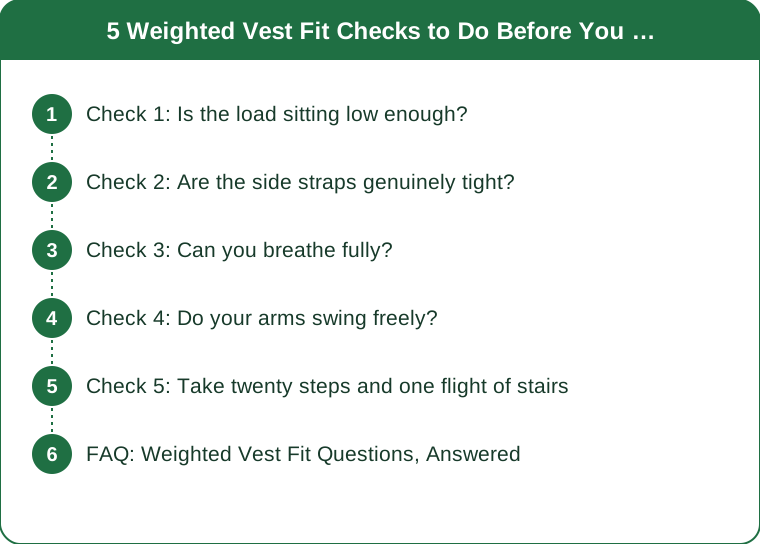
Check 1: Is the load sitting low enough?
The most common fit error, and the one that produces shoulder and neck complaints.
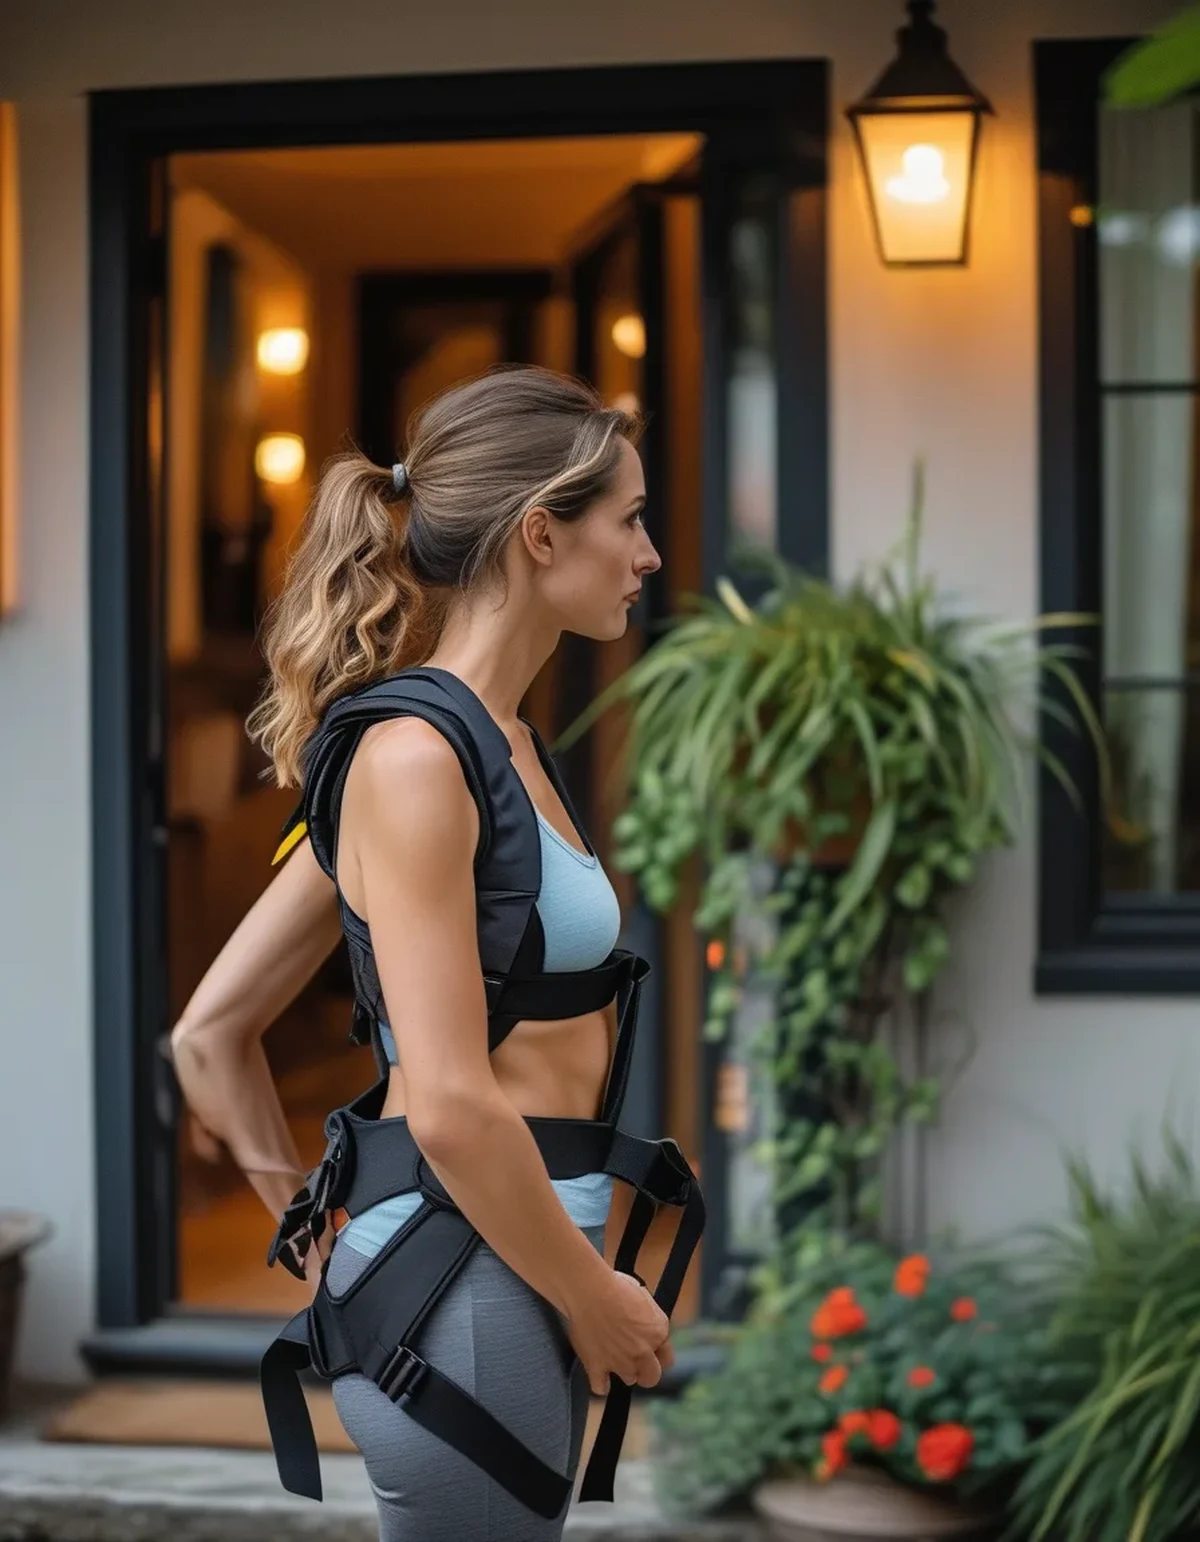
Weight sitting high on the chest and shoulders loads the neck and upper traps directly, which is the source of most vest-related aching. The vest should carry its mass close to your centre of gravity, around the trunk, not perched near the collarbones.
Check where the heaviest section sits relative to your sternum. If the bulk of the load is above the middle of your chest, it is too high. Repack the weights lower if the vest allows it, or adjust the shoulder straps to drop the whole unit.
A vest riding high changes your posture. You lean back slightly to counterbalance, which loads the lower back over the course of an hour. The lower back ache is caused by the shoulder position, which is why people misdiagnose it.
Front and back should be balanced. More weight in front than behind pulls you forward and produces a compensating lean. Feel the two sides with your hands - a rough check is enough to catch a serious imbalance.
Check 2: Are the side straps genuinely tight?
Snug in the hallway is loose after twenty minutes of movement.
A vest that can shift laterally will shift, and each shift is a small load your stabilising muscles absorb. Over an hour that adds up to a fatigue you cannot locate.
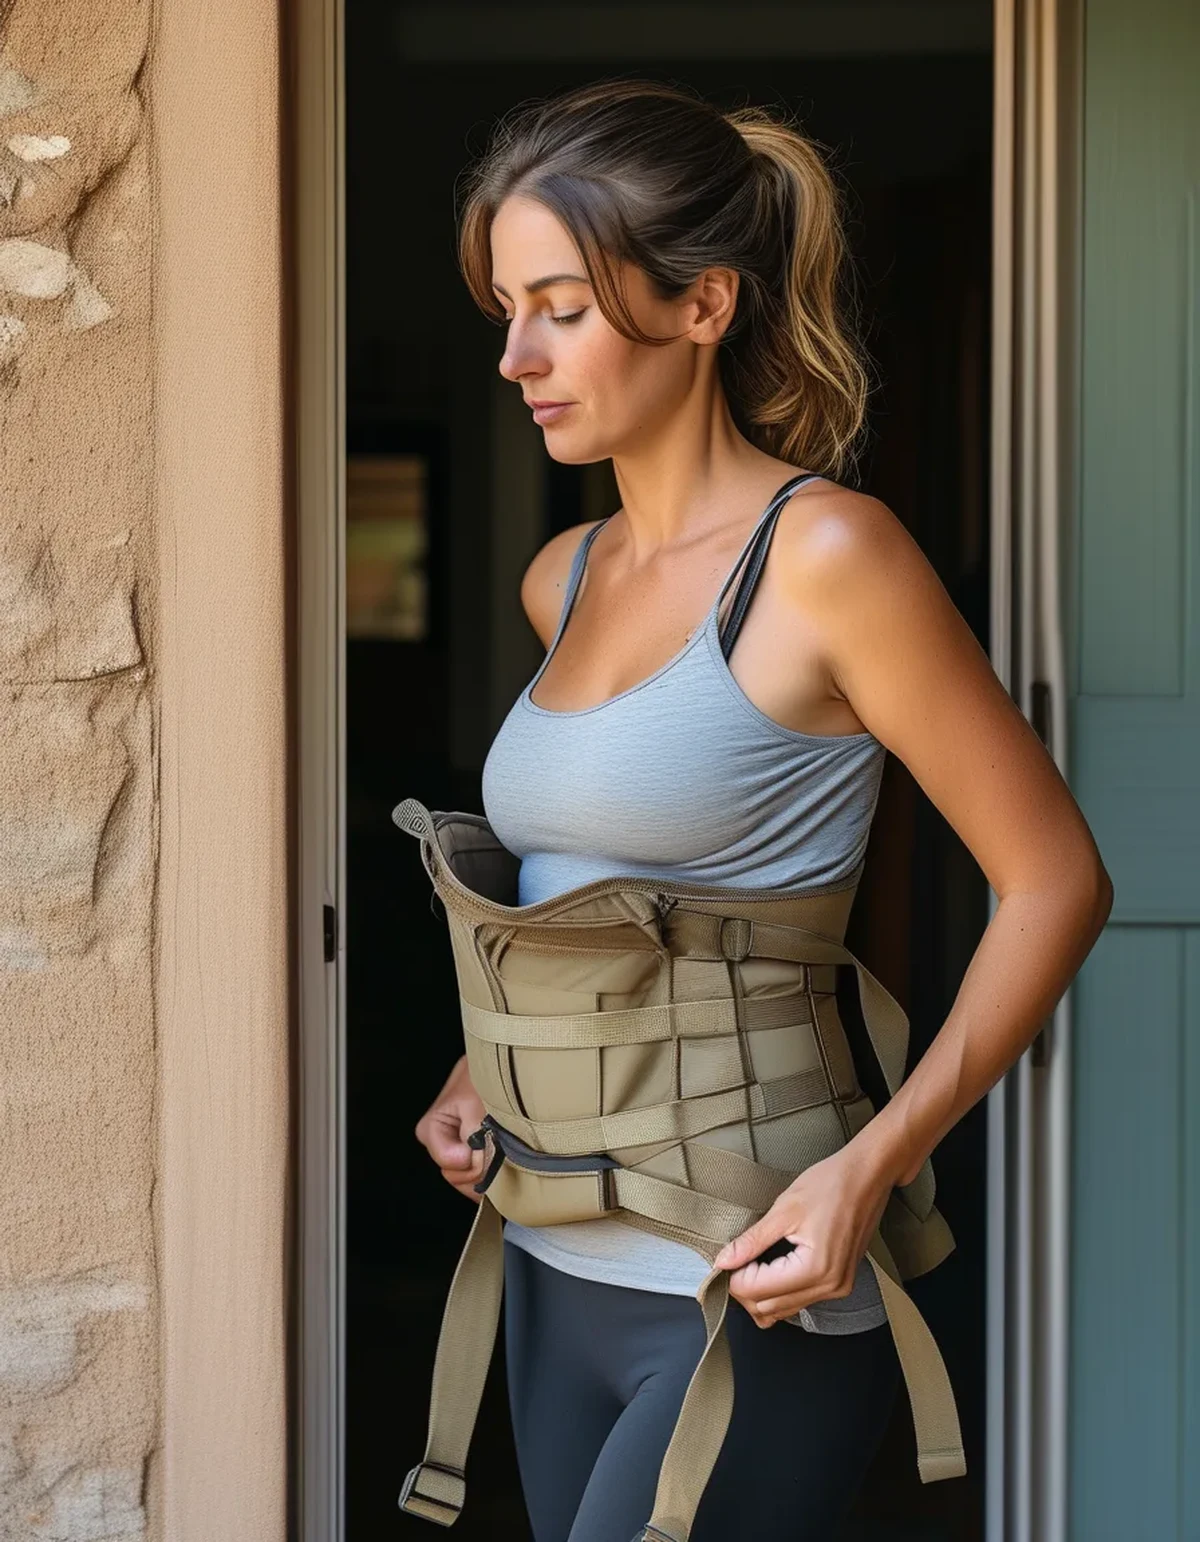
Tighten until it moves with you, not on you. Grab the vest and try to shift it side to side - it should move your torso rather than sliding across it. This is the definitive test and takes three seconds.
Straps loosen as you warm up and the fabric relaxes. Something set perfectly at the door is often noticeably looser after fifteen minutes. Plan to re-tighten once early in the walk rather than assuming the initial setting holds.
Too tight is a real thing though. A vest strapped so firmly that it restricts rib expansion makes breathing work harder and turns an easy walk into an uncomfortable one. Snug against movement, free for breathing is the target.
Check 3: Can you breathe fully?
The check people skip, and the one that ruins the longest walks.
Take a full deep breath with the vest on before you leave. Your ribs need to expand freely, and a vest that restricts that will make every hill feel harder than it is. If a deep breath feels constrained standing still, it will feel considerably worse walking uphill.
Breathing restriction is felt as poor fitness. Elevated perceived effort at an easy pace is the usual symptom, and people conclude they are having an off day. The vest is throttling the input, not your fitness failing.
Check it in a hinged position too. Bend forward slightly as you would going up a steep hill and take another breath. The restriction often only appears when you fold, which is exactly when you need the air most.
Loosen the chest straps before the side straps if you need room. Lateral stability comes mostly from the sides, so you can usually free the chest without losing the fit.
Check 4: Do your arms swing freely?
Restricted arm swing changes your gait, and gait changes are where problems start.
Swing both arms fully forward and back. If the vest catches under the arms or blocks the swing, your stride shortens to compensate. A shortened stride over three miles is a meaningful change in loading.
Check for rubbing at the armhole. Chafing that is barely noticeable in the hallway becomes a genuine problem at mile two, particularly over bare skin or a thin summer top. A sleeved layer underneath solves nearly all of it.
Reach overhead once. If the vest rides up substantially and does not settle back down, it will creep upward through the walk. Creeping upward is how a well-placed load becomes a high one by the end.
Then look at your shoulders. Straps digging into the top of the shoulder rather than distributing across it is a padding or width problem, and an hour of it is genuinely unpleasant. Wider straps carry the same weight far better.
Check 5: Take twenty steps and one flight of stairs
The check that catches everything the standing checks miss.
Walk twenty steps at your actual pace before you commit. Bounce, shift, and rub all appear during movement and none of them appear standing still. Twenty seconds of walking tells you more than two minutes of adjusting.
Do a flight of stairs if you have one. Stairs involve more trunk movement and more vertical load, which exposes a loose vest immediately. Stairs are the harshest fit test available at your front door.
Listen for movement. A vest that thuds or shifts audibly is moving more than it should, and your ears catch it before your body registers the cost. Noise is a fit signal.
Notice your breathing at the top. Slightly harder than usual is expected with added weight; noticeably restricted is a fit problem, not a fitness one. Re-check the chest straps if it feels tight rather than just harder.
And be honest about the weight itself. If the fit is good and it still feels wrong, the load may simply be too high for now - a common starting point is a modest percentage of body weight, built up gradually over weeks. Persistent shoulder, neck, or back pain is a stop signal, not something to walk off, and worth having assessed. This is general information, not medical advice.
FAQ: Weighted Vest Fit Questions, Answered
How tight is too tight?
When a full deep breath feels restricted standing still, or when you cannot bend forward and breathe comfortably. Snug enough not to shift, loose enough to breathe fully is the whole target.
Why do my shoulders ache when the weight is on my torso?
Usually because the load is sitting higher than it should, or the straps are narrow and concentrating pressure. Repack lower and widen the straps before reducing the weight.
Should I re-adjust during the walk?
Yes - once, early on, after the fabric has relaxed and you have warmed up. Most vests need one adjustment at around fifteen minutes and none after that.
TL;DR:
- Load sitting too high is the main cause of vest-related shoulder, neck, and lower back aching.
- Grab and shift the vest - it should move your torso, not slide across it.
- Take a full breath standing and bent forward; restriction reads as poor fitness, not as a fit problem.
- Swing your arms and reach overhead to catch chafing and creeping before they cost you a walk.
- Twenty steps and one flight of stairs exposes everything the standing checks miss.
Do the grab-and-shift test and twenty steps before your next walk. Two minutes at the door beats an hour of adjusting a strap you cannot reach.
Keep Reading
This article is for general informational purposes only and is not medical advice. Always consult a qualified health professional for guidance specific to you.